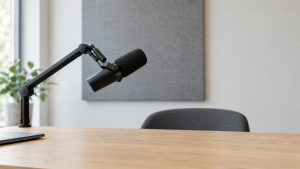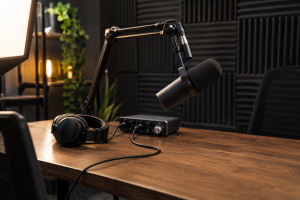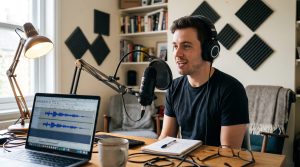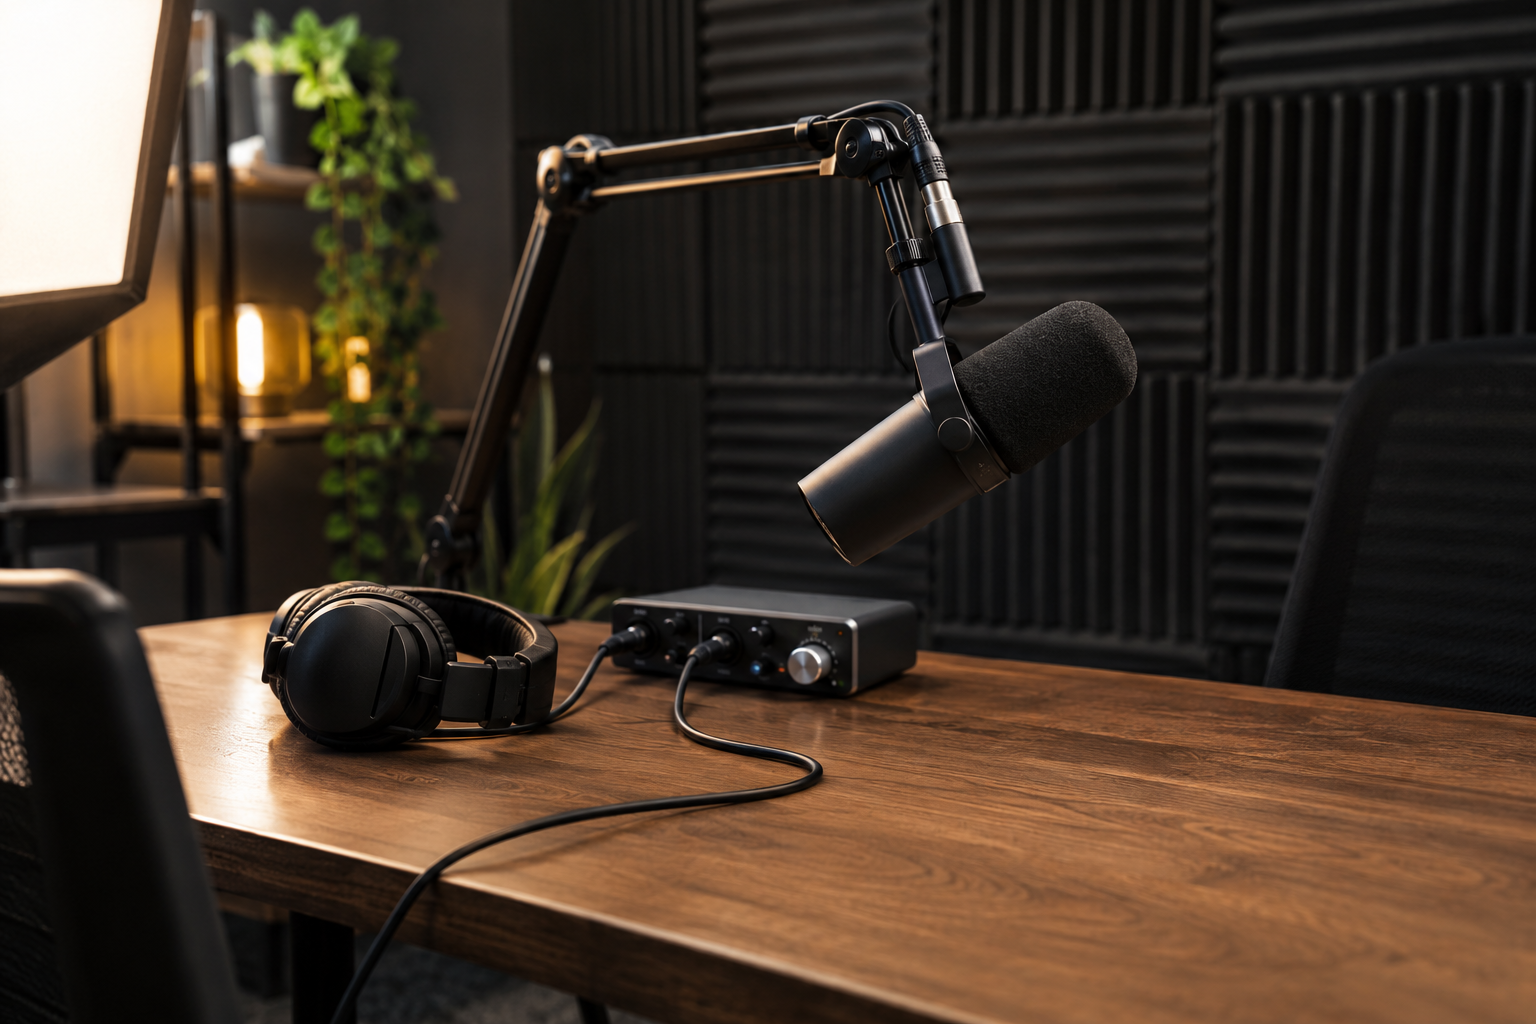
A working podcast equipment list comes down to four things. A dynamic microphone for each voice, closed-back headphones, something to record the microphone into, and a room that doesn’t echo. Everything else is either tied to your format or a purchase you can skip until the show has earned it.
Most equipment guides are written to sell gear, so new podcasters buy a mixer, a second microphone and a camera before they’ve fixed the room they record in. This post is written from the kit we run every day in a Dublin studio. It covers what to buy first, what to leave in the basket, what changes when you add video, and when booking a studio beats buying anything at all.
What Podcast Equipment Do You Actually Need to Start?
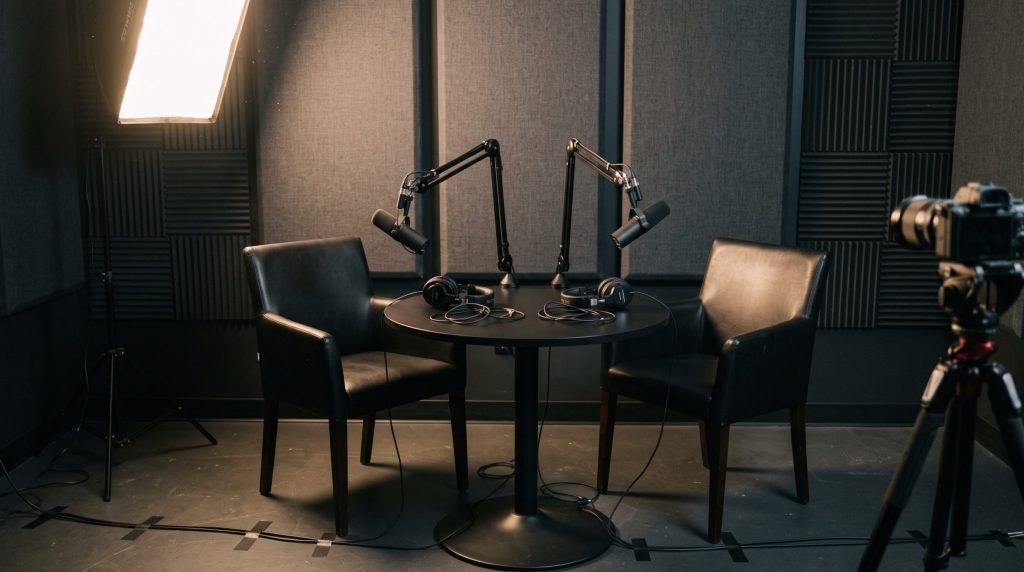
Four items are non-negotiable for any podcast, audio or video. A dynamic microphone for each voice, closed-back headphones, an audio interface or recorder to capture the microphone, and basic acoustic treatment in the room.
Get those four right and a solo show recorded at a kitchen table can sound close to a studio recording. Get them wrong and no amount of editing will rescue the episode.
- Dynamic microphone captures the voice and ignores most of the room
- Closed-back headphones let you hear problems while you can still fix them
- Audio interface or recorder turns the microphone signal into a clean digital file
- Acoustic treatment removes the echo that makes home recordings sound amateur
Which Podcast Microphone Should You Start With?
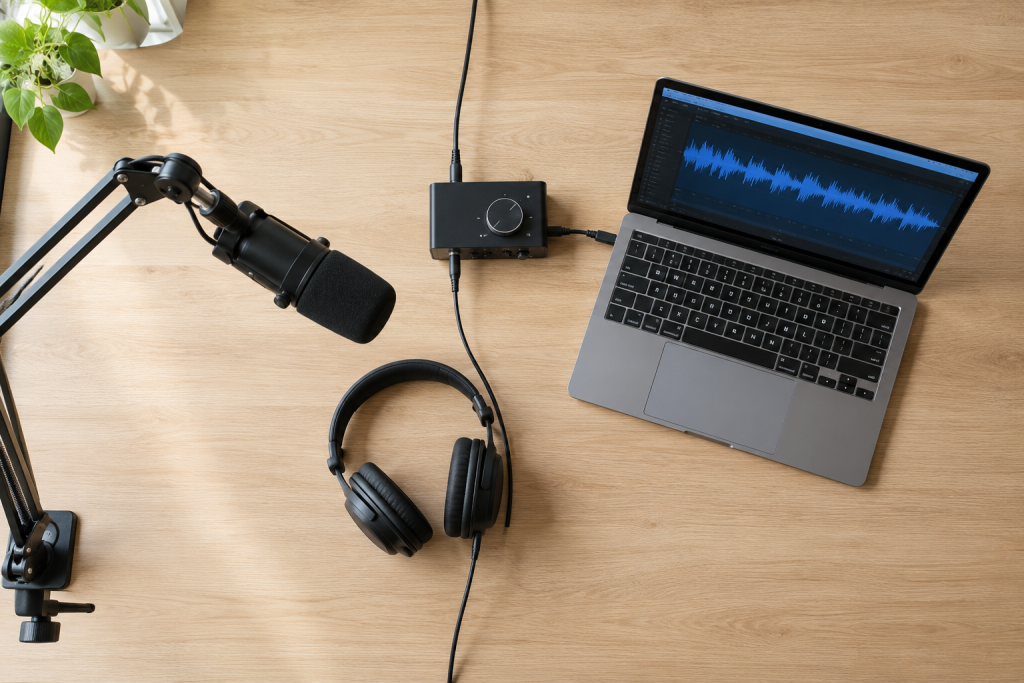
Start with a dynamic microphone, not a condenser. Dynamics reject room noise, traffic and the hum of a fridge, which is why radio studios have used them for decades. A condenser hears everything in the room, so it only pays off once the room is treated.
The second decision is USB or XLR. A USB microphone plugs straight into a laptop and is the simplest route for a solo show. An XLR microphone needs an interface but scales to guests, and it’s what sits on every boom arm in our rooms.
- Choose USB if you record alone, at one desk, and want zero extra boxes
- Choose XLR if you’ll have a co-host or in-person guests within the first year
- Choose a hybrid USB and XLR microphone if you’re unsure, because it moves with you to a bigger setup
Do You Need an Audio Interface or Recorder for a Podcast?
Yes, if you use XLR microphones. An interface converts the analogue microphone signal to digital, supplies 48V phantom power if you ever use a condenser, and gives you a physical gain knob and a headphone output. You need one input per voice in the room.
Record at 24-bit and 44.1 or 48 kHz. That comfortably exceeds the minimum audio format Apple Podcasts accepts and leaves headroom for editing without adding noise. A portable recorder with two to four XLR inputs does the same job away from a laptop.
Why Headphones Are Non-Negotiable on a Podcast
Closed-back headphones let you hear a problem while you can still fix it. A plosive on every “p”, a guest clipping the input, a laptop charger humming through the cable. You hear none of that through speakers, and you can’t fix any of it in the edit without it sounding fixed.
Any wired, closed-back pair works. Avoid Bluetooth headphones, because the delay between your voice and what you hear makes talking feel wrong. One pair per person on a microphone.
Does Acoustic Treatment Matter More Than the Microphone?
Yes. A mid-range dynamic microphone in a treated room beats an expensive one in an echoey box, and no plugin fully removes reverb once it’s recorded. Treatment means absorbing sound at the points where it bounces off hard surfaces and back into the microphone.
- Hang thick curtains or put a bookshelf on the wall facing the microphone
- Put a rug on a hard floor
- Add absorption panels on the walls either side of where you sit
- Keep the microphone close, about a hand’s width from your mouth
Every room we record in has absorption panels throughout, and that’s the single biggest reason the audio sounds broadcast-ready before any editing happens.
Which Podcast Equipment Can You Skip?
Skip the mixer, the condenser microphone, extra microphones on day one, mastering hardware and the camera, at least until the show has a format and an audience. Each one solves a problem most new shows don’t have yet, and each adds setup time to every single episode.
| Item | Verdict | Why |
|---|---|---|
| Mixer or broadcast console | Skip | An interface handles one or two microphones. A mixer adds knobs you won’t touch and more things to get wrong. |
| Condenser microphone | Skip | Picks up the room, the traffic and the fridge. Only worth it in a treated studio. |
| Multiple microphones on day one | Wait | Buy one per regular voice. Remote guests use their own microphone through recording software. |
| Shock mount and premium boom arm | Wait | A basic desk arm and the microphone’s own clip are fine. Upgrade when you hear handling noise. |
| Mastering hardware and plugin suites | Skip | Free loudness tools in your editor reach the targets platforms expect. |
| Expensive camera before audio | Skip | Viewers forgive soft video. Nobody forgives bad audio. |
| Soundproofing | Skip | Blocking outside noise means construction. Absorption is what fixes echo, and that’s the cheap one. |
On loudness, the platforms publish their own targets. Apple Podcasts asks for -16 LUFS and Spotify for -14 LUFS, and the podcaster’s guide to LUFS from Podnews explains how a free meter inside your editing software hits either number without a rack of outboard gear.
What Extra Equipment Does a Video Podcast Need?
A video podcast adds three things to the audio list. A camera for each angle you want to cut between, a key light through a softbox so faces don’t fall into shadow, and a background that looks intentional rather than like a spare bedroom.
The audio kit stays exactly the same, because the microphones still carry the show. Video changes how the episode looks, never how it sounds.
How Many Cameras Does a Video Podcast Need?
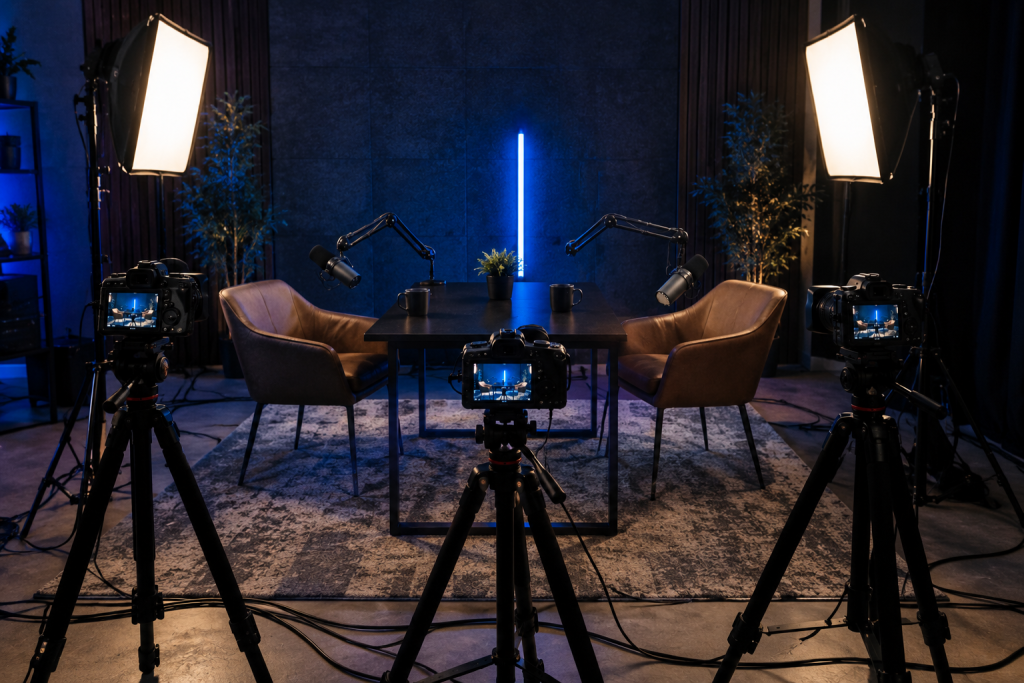
One camera for a solo show, three for a two-person conversation. The broadcast standard for a two-seat podcast is one wide shot and one close-up per host, which gives the editor somewhere to cut every time the speaker changes. That three-camera setup is what we run for every podcast session.
Any mirrorless camera that records 4K and runs for an hour without overheating does the job. The money goes into lenses, batteries and memory cards rather than the body, so budget for those before upgrading the camera itself.
What Lighting Does a Video Podcast Need?
One key light through a softbox, placed above eye level and about 45 degrees to one side of the face. That alone separates a video podcast from a webcam call. A second, dimmer light on the other side fills the shadows for a two-person setup.
We run point-source COB lights with softboxes for key and fill, and RGB tube lights behind the hosts for background colour. Daylight from a window is free, but it changes across an hour and never matches between episodes.
Does a Video Podcast Need a Backdrop or Set?
Yes, because the background is in every frame of every episode. A plain painted wall, a shelf with three objects on it, or a single coloured wash from a tube light all read as a set. A cluttered room or a window behind the hosts reads as a bedroom.
Keep the hosts at least a metre off the back wall so the background falls slightly out of focus. That one change does more for the look than any camera upgrade.
Podcast Equipment Checklist by Show Format
The right list depends on how many people are in the room and whether there’s a camera. A solo audio show needs one microphone, one interface and one pair of headphones. A two-host show doubles the microphones and needs a two-input interface. Video adds a camera per angle, a key light and a set.
| Format | Audio kit | Video kit |
|---|---|---|
| Solo audio show | One dynamic microphone (USB or XLR), headphones, interface if XLR, treated corner | None |
| Two hosts in the room | Two dynamic XLR microphones, two-input interface, two pairs of headphones, treated room | None |
| Remote guests | Your solo kit plus remote recording software that captures each person locally | None |
| Video podcast, two people | Same as two hosts in the room | Three cameras, key light and fill with softboxes, intentional background |
Every row shares the same foundation. Add the video column only when the audio column already sounds right.
Should You Buy Podcast Equipment or Book a Studio?
Buy your own kit if you record a solo audio show from the same desk every week. Book a studio if the show is video, has guests in the room, or you’d rather spend the hour talking than checking levels.
The deciding factor is setup time per episode, which adds up faster than the cost of any gear.
| Buying your own kit | Booking a studio | |
|---|---|---|
| Upfront spend | Paid once, before episode one | Paid per session, nothing upfront |
| Setup per episode | Yours, every time | Done before you arrive |
| Room acoustics | Your responsibility | Treated rooms |
| Video | Extra cameras, lights and the skill to run them | Multi-camera and lighting included |
| Adding guests | Another microphone and input per voice | Seats and microphones already set |
| Files | Yours | Yours, raw files handed over on the day |
In our rooms the boom arms are positioned and level-checked before you sit down, the three cameras are framed, and you leave with the raw video and audio files. A free studio tour is the quickest way to see whether a set suits the show before spending anything on equipment.
Start with a dynamic microphone, closed-back headphones, an interface and a treated corner. Leave the mixer, the condenser and the camera in the basket until the show needs them.
If video or in-person guests are part of the plan from episode one, book a studio session and record with everything already set up and tested.